



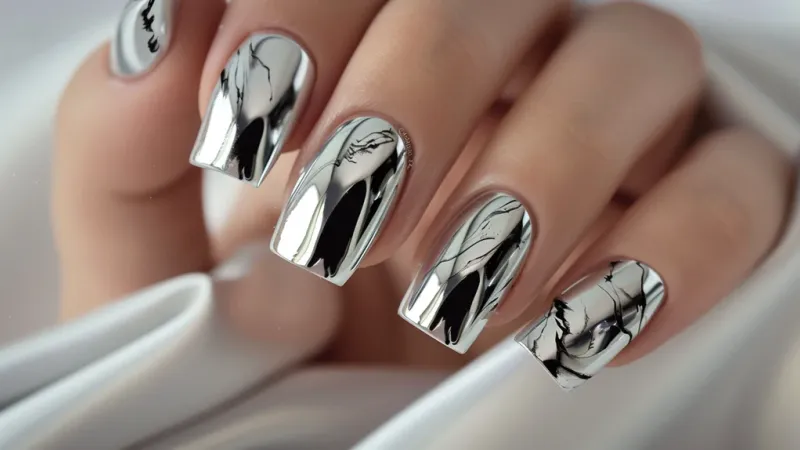
Chrome powder is one of the easiest ways to turn an ordinary gel manicure into a striking metallic nail design. With the right preparation and technique, you can create everything from a high-shine silver mirror finish to gold, rose-gold, pearl, holographic, and colorful chrome effects.
The key is creating a smooth gel surface, using a chrome-compatible product, buffing in a very small amount of powder, and sealing the finished design properly.
What Is Chrome Powder?
Chrome powder is an ultra-fine nail-art pigment that is rubbed or "burnished" onto a gel surface. As the pigment is worked into the surface, its tiny particles create a highly reflective metallic appearance.
The color underneath the powder also affects the final result:
- Black: intense, dramatic mirror chrome
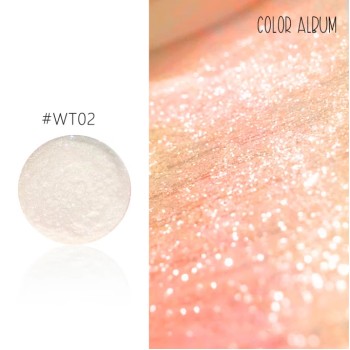
- White: soft pearl or icy chrome
- Nude/pink: glazed or subtle chrome
- Red: rich ruby metallic
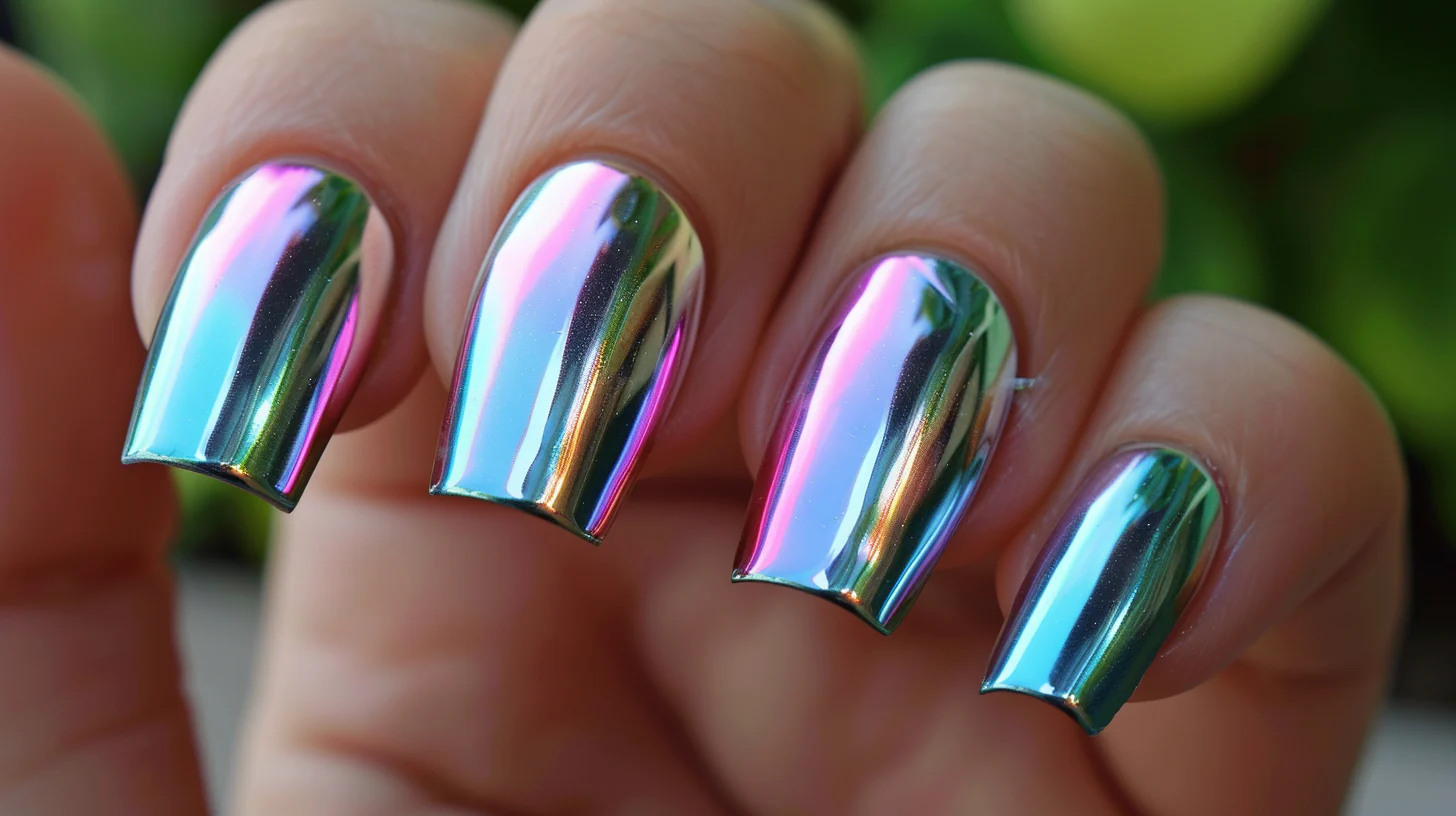
- Blue or purple: colorful futuristic chrome
- Gold or bronze: warm metallic finishes
What You'll Need
- Nail file
- Nail buffer
- Cuticle pusher
- Lint-free wipes
- Nail cleanser/dehydrator appropriate for your system
- Gel base coat
- Gel polish
- Chrome-compatible no-wipe top coat
- Chrome powder
- Silicone or sponge-tip applicator
- Soft dusting brush
- UV/LED nail lamp
- Final gel top coat
Chrome application guides from several nail-product manufacturers follow essentially this sequence: prep, base, color, chrome-compatible top coat, powder, remove excess, and seal.
Step 1: Prepare Your Nails
Good preparation makes a huge difference because chrome is extremely reflective and will emphasize imperfections underneath it.
Begin by:
- Removing old nail product safely.
- Filing your nails into your desired shape.
- Gently pushing back the cuticles.
- Lightly buffing the natural nail if required by your gel system.The illustrated process shows the preparation stage before applying the gel layers.
- Removing all dust.
- Cleansing the nail plate.
Don't aggressively file the natural nail. You only want to prepare the surface rather than thin it.

Step 2: Apply Your Gel Base Coat
Apply a thin, even layer of gel base coat.
Keep the product away from the surrounding skin and cuticle. If gel accidentally gets onto the skin, clean it up before curing.
Cure the base coat according to the instructions for your particular product and lamp.
It's important not to rely on a generic curing time because gel formulations and lamps vary.
Step 3: Apply Your Gel Color
Apply your chosen gel polish in a thin layer and cure it according to the manufacturer's directions.
If you need additional coverage, apply a second thin coat and cure again.
Which color should you choose?
Your base color dramatically changes the chrome effect.
For classic mirror chrome:
Try black underneath silver chrome.
For glazed chrome:
Try sheer pink, nude, or milky white.
For pearl chrome:
Use white or a translucent milky shade.
For colorful chrome:
Choose a base color that complements the pigment.
Step 4: Apply the Chrome-Friendly Top Coat
This is one of the most important stages.
Apply a thin, smooth layer of no-wipe or chrome-compatible top coat over the cured color.
The exact curing procedure depends on the product. Follow the manufacturer's instructions rather than assuming that every no-wipe top coat should be cured for the same amount of time. Published application guides differ in their recommended curing procedures.
Important: Don't deliberately under-cure a gel product unless its manufacturer specifically instructs you to do so. Deliberately leaving gel incompletely cured can increase exposure to uncured ingredients.
Why is the top coat so important?
Chrome powder needs an appropriate surface that allows the pigment to adhere and buff into a smooth finish. A compatible no-wipe/chrome top coat is commonly used specifically for this purpose.
Step 5: Apply the Chrome Powder
Now comes the most satisfying part.
Place a tiny amount of chrome powder onto your sponge or silicone applicator.
Start with less powder than you think you need.
Press the applicator onto the nail and begin rubbing the powder into the surface using small circular or back-and-forth movements.
As you buff, the powder should change from a loose, dusty pigment into a smooth metallic surface. Manufacturer demonstrations show the pigment being rubbed into the nail with a sponge applicator before excess powder is removed. Work systematically.
Make sure you cover:
- The center of the nail
- Both sidewalls
- The area near the cuticle
- The free edge
Don't simply sprinkle the powder over the nail. Burnishing it into the surface is what produces the smooth, reflective appearance.
Step 6: Buff Until the Surface Looks Metallic
Continue gently rubbing until the nail becomes smooth and reflective.
A good chrome finish should look almost liquid or mirror-like rather than grainy.
If you can still see individual particles, continue buffing with the applicator.
However, don't aggressively scrub the nail. The goal is to polish the pigment into the surface, not physically abrade the gel underneath.
Pro tip: Use very little powder
One of the most common beginner mistakes is using too much.
A small amount of finely milled powder can create a more uniform finish than a thick layer sitting on top of the nail.
Step 7: Remove Excess Powder
Once you're happy with the chrome effect, use a clean, soft brush to remove loose powder.
Gently sweep around:
- The nail surface
- Sidewalls
- Cuticle area
- Skin surrounding the nail
Removing loose pigment before sealing helps keep the finished manicure clean and smooth. Manufacturer instructions likewise recommend brushing away excess powder before the final top coat.
Step 8: Seal the Chrome
Apply a compatible gel top coat over the entire nail.
Be particularly careful around the free edge. This helps protect the chrome from wear and prevents the metallic pigment from rubbing away prematurely.
Cure the top coat according to the manufacturer's instructions.
The final sealing step is essential because it locks the powder into the manicure and restores a durable glossy surface.
A Complete Chrome Powder Application at a Glance
1. Prepare
Shape, lightly buff if appropriate, and cleanse the nails.
2. Base coat
Apply a thin gel base coat and cure.
3. Color
Apply one or two thin coats of gel color, curing each layer.
4. Chrome top coat
Apply the appropriate no-wipe/chrome-compatible top coat and cure according to its instructions.
5. Chrome powder
Pick up a tiny amount with a sponge or silicone applicator.
6. Buff
Rub the powder into the surface until it becomes smooth and reflective.
7. Dust
Remove loose pigment with a soft brush.
8. Seal
Apply your final top coat, cap the free edge, and cure.
How to Create Different Chrome Effects
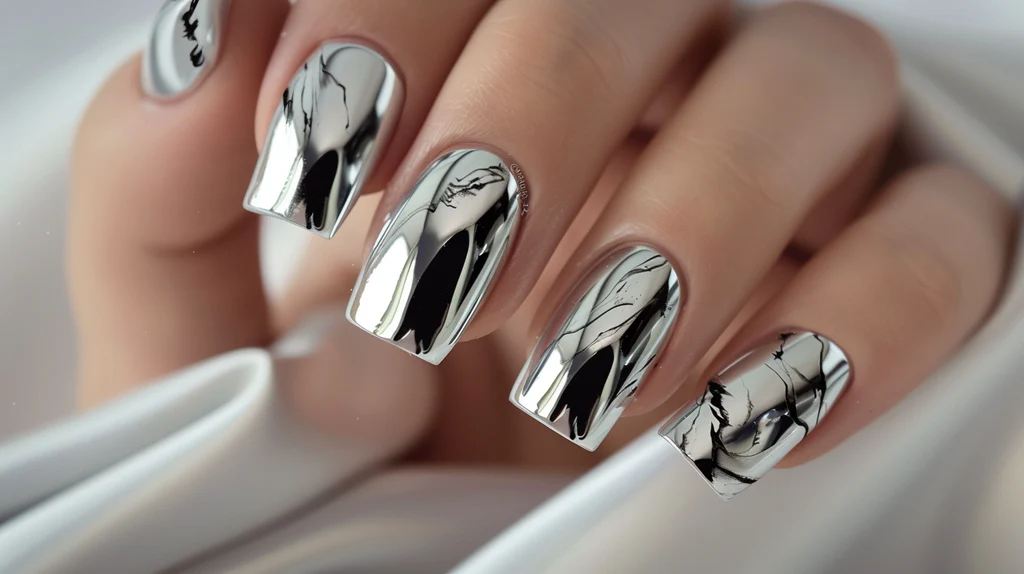
Silver Mirror Chrome
For the classic "liquid metal" appearance, use a black gel base beneath a silver chrome powder.
The dark background creates strong contrast and makes the reflective pigment particularly dramatic.
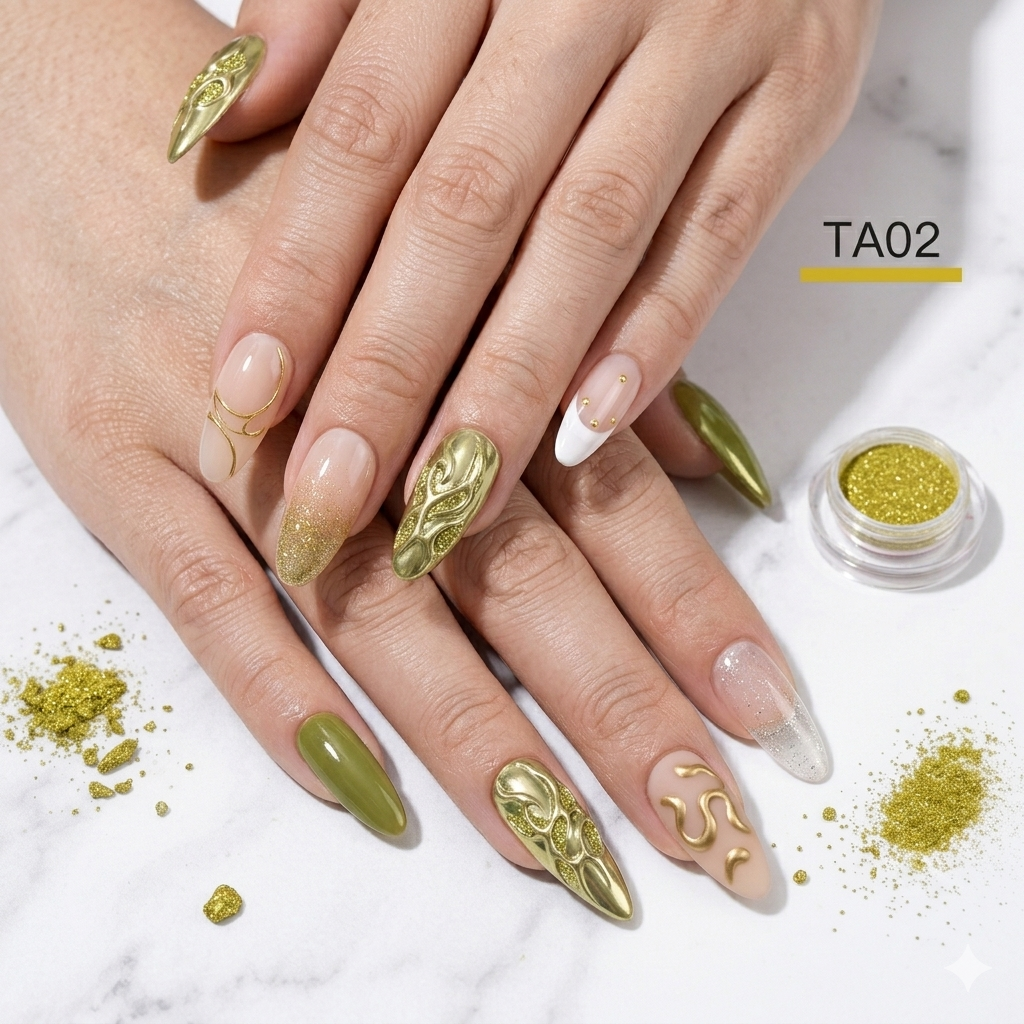
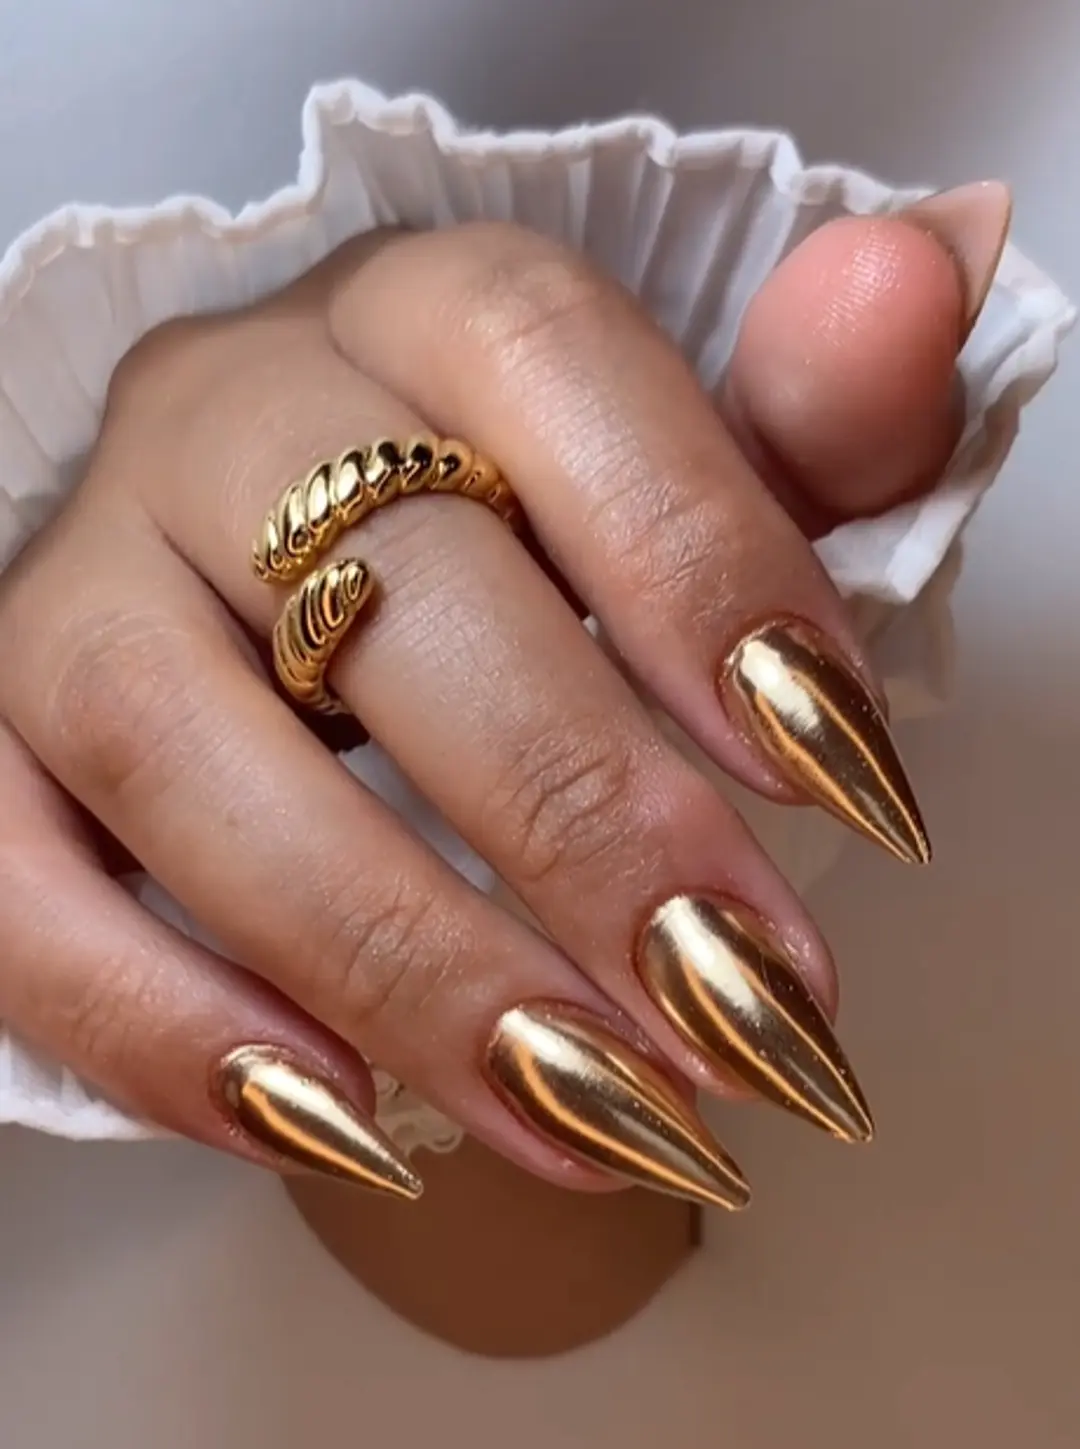
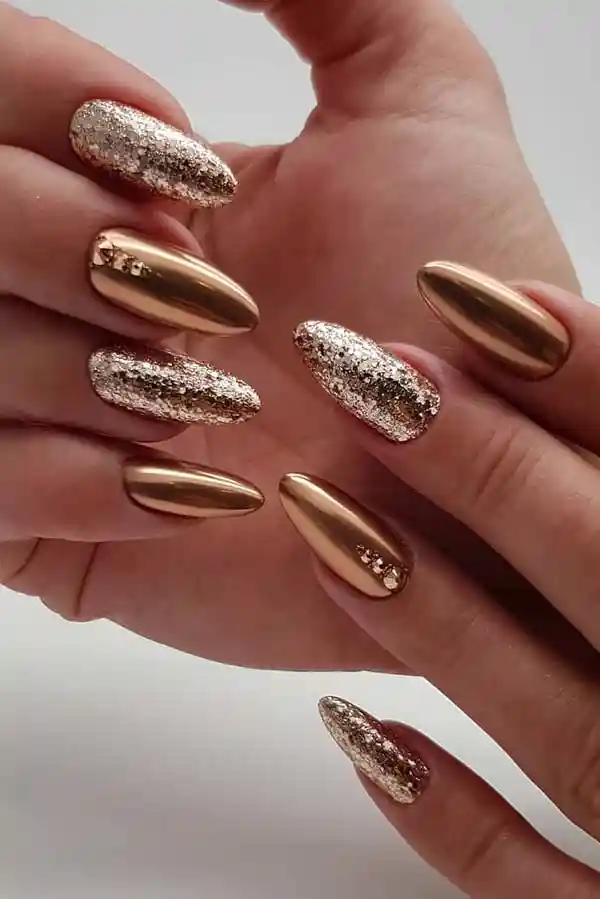
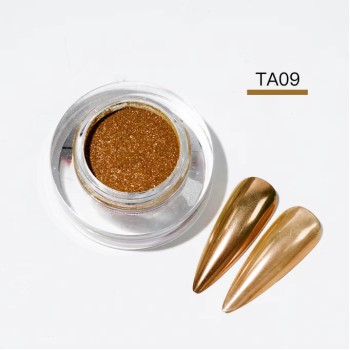
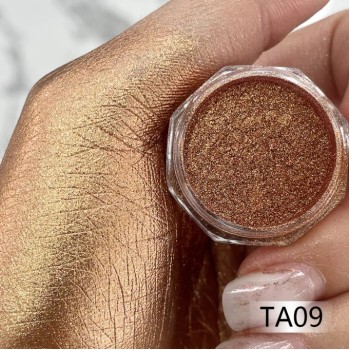
Gold Chrome
Gold powder over a nude, brown, black, or warm-toned base creates a luxurious metallic finish.
For an antique effect, try a brown or deep red base instead of black.
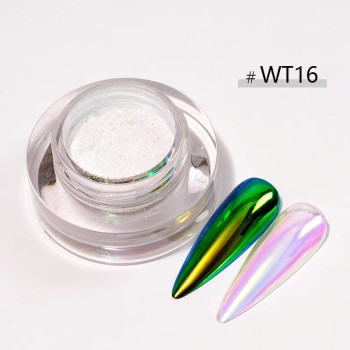
Pearl Chrome
For a softer look, use a milky white or pale pink base with a pearl chrome pigment.
This creates the popular glazed, luminous appearance rather than a hard mirror effect.
Pink Chrome
Use a pale pink or rose-colored gel underneath pink or rose-gold chrome.
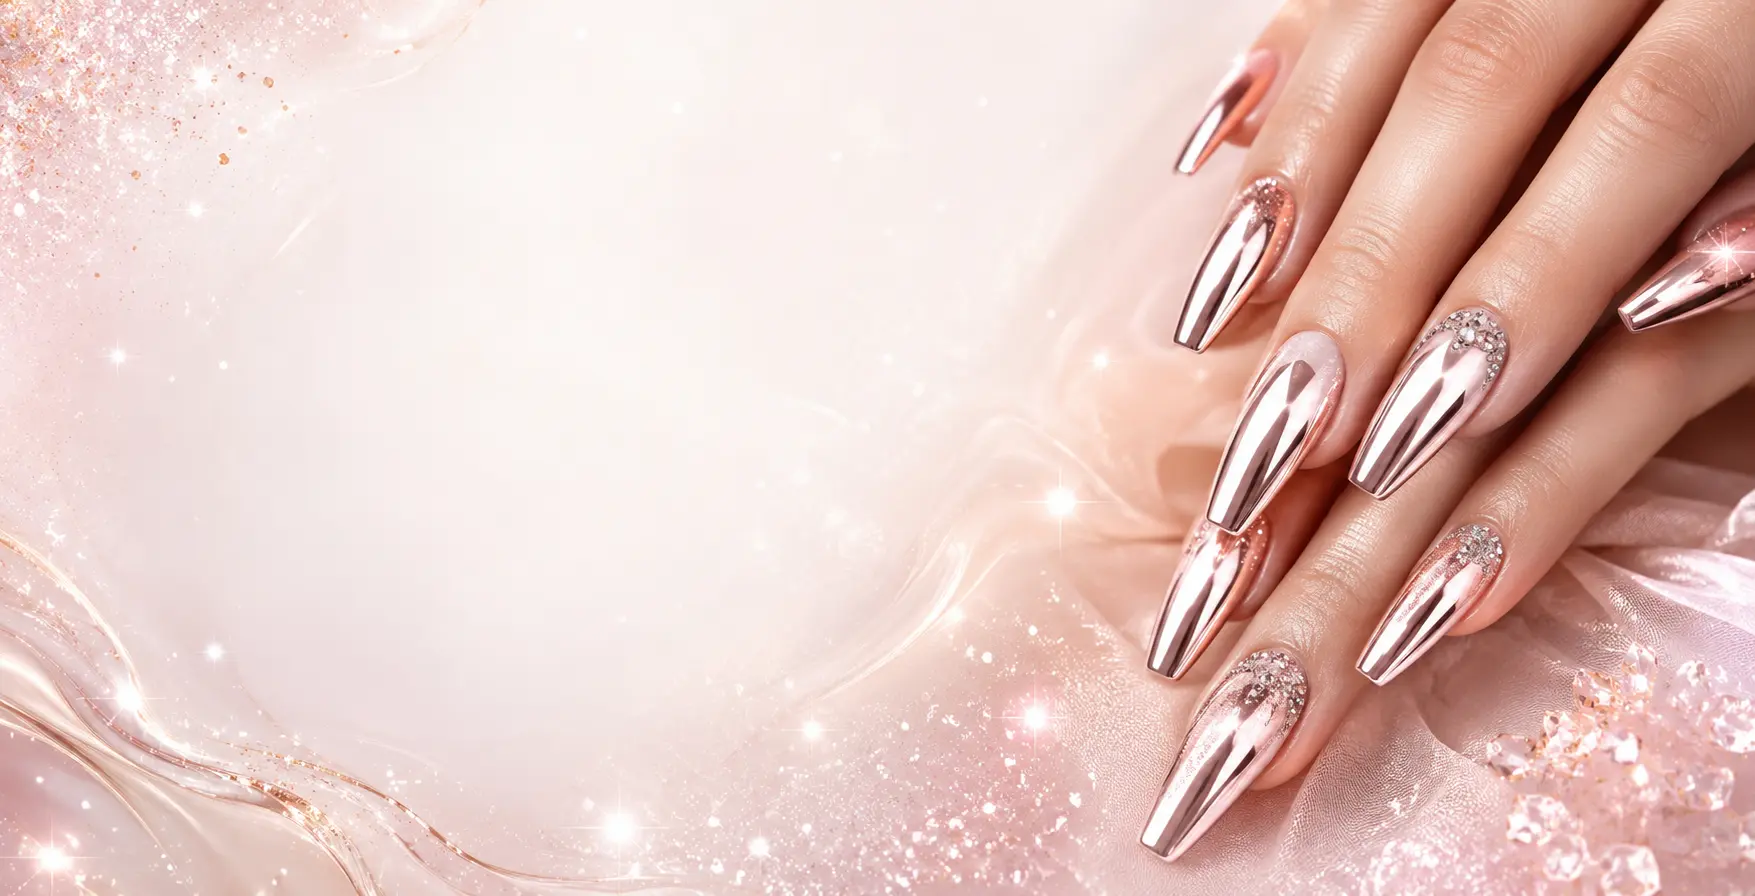
This is an excellent choice if you want metallic nails without the intensity of silver mirror chrome.
Chrome French Tips
Chrome doesn't have to cover the entire nail.
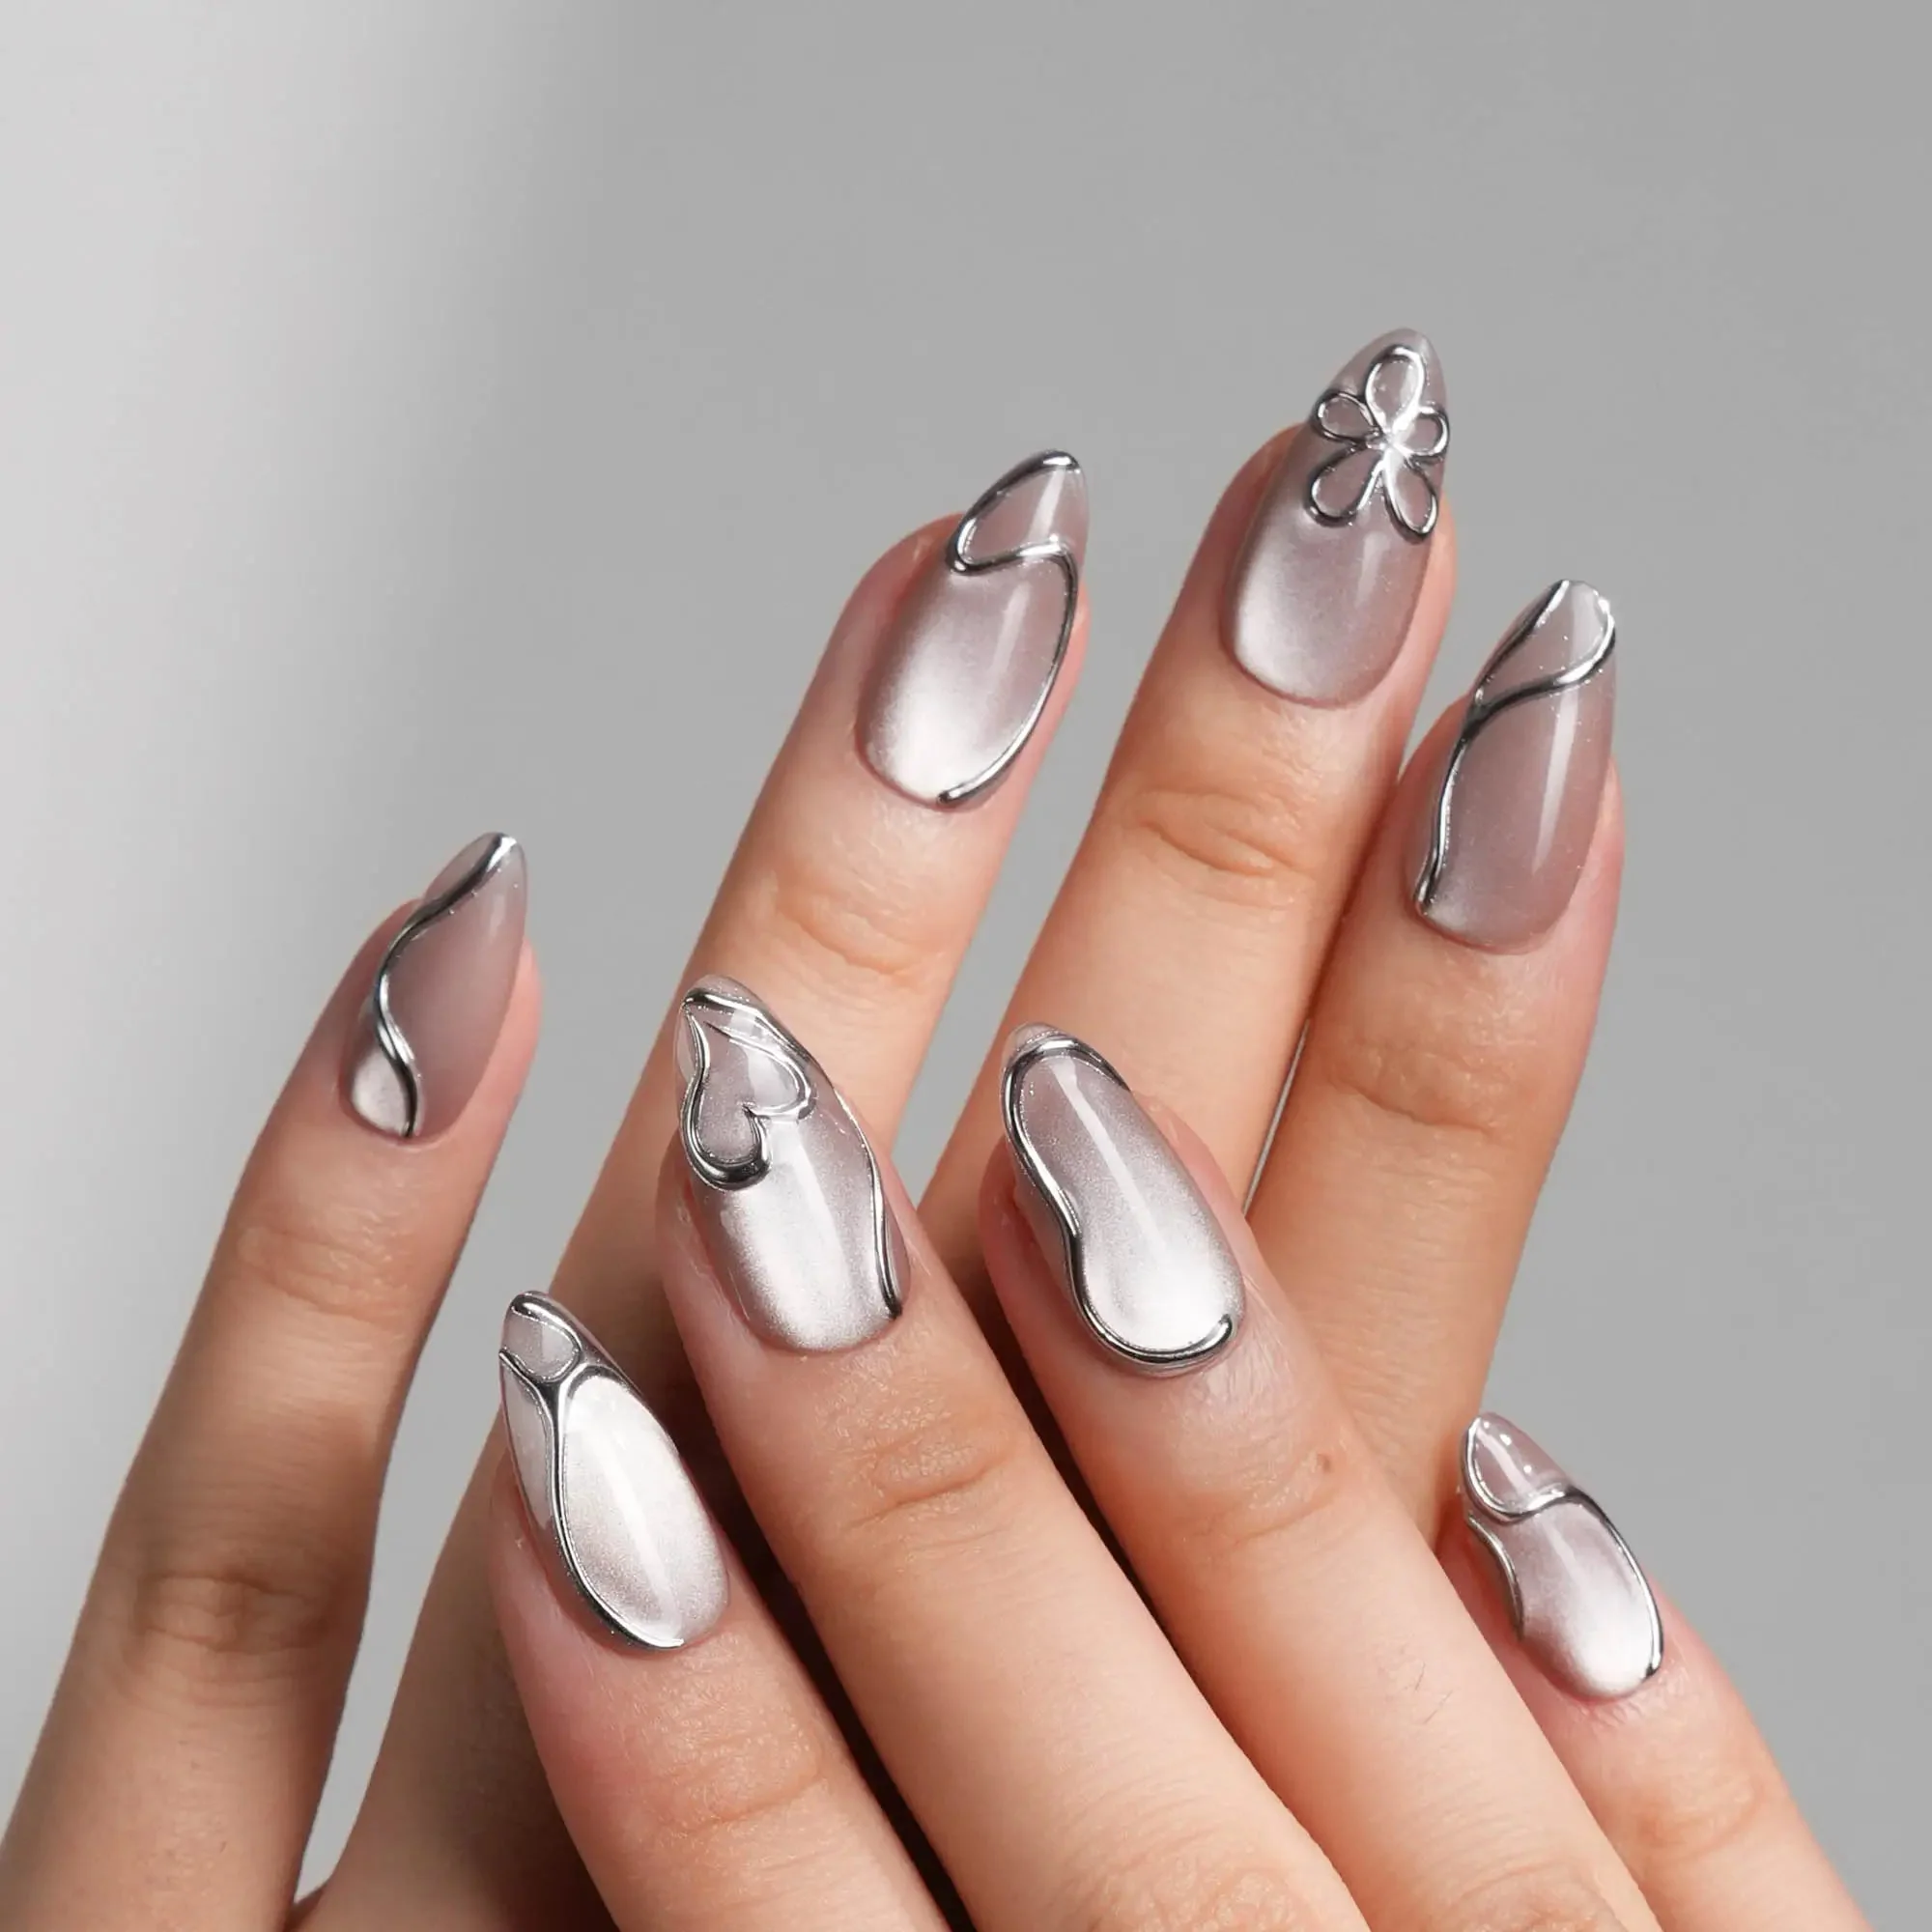
You can create a French manicure with a nude or milky base and apply chrome only to the tips. For more elaborate nail art, chrome can also be applied selectively to lines, swirls, or other cured designs.
Troubleshooting Chrome Powder
Why does my chrome look dull?
Possible causes include:
- The surface wasn't suitable for the chrome powder.
- The powder wasn't buffed sufficiently.
- Too much powder was used.
- The surface underneath wasn't smooth.
- The products weren't compatible.
- The curing process wasn't appropriate for the specific product.
Start by checking the manufacturer's application instructions for both your chrome powder and top coat.
Why is my chrome patchy?
Patchiness usually comes from inconsistent coverage or an uneven underlying surface.
Make sure your color layer is smooth before applying the chrome. Use a small amount of powder and work it evenly across the entire nail.
Why can I see glitter instead of chrome?
If the pigment still looks like loose glitter, try using less powder and buffing it more thoroughly.
Chrome powder should become increasingly smooth and reflective as it is burnished.
Why does the chrome disappear after top coating?
This can happen when the top coat is incompatible with the chrome system or when the application technique disturbs the pigment.
Use a top coat recommended for chrome application and apply it carefully rather than repeatedly brushing over the same area.
Why does chrome peel from the tips?
The free edge receives a lot of mechanical wear.
Make sure your final coat covers the edge of the nail, and follow the product manufacturer's recommendations for sealing chrome. Some systems use an additional compatible gel layer before the final top coat.
Safety Tips for At-Home Gel Chrome Nails
Chrome powder itself is only one part of the process; the gel products and curing lamp require particular care.
- Follow the instructions for your specific gel products.
- Use the lamp recommended or specified for your gel system.
- Don't intentionally leave gel incompletely cured unless the product instructions specifically call for it.
- Keep uncured gel off your skin.
- Clean up accidental gel contact before curing.
- Don't apply gel over damaged or infected nails.
- Never peel cured gel off the natural nail.
- Keep powders and gel products away from your eyes and mouth.
- Work in a clean, well-ventilated area.
If you develop persistent irritation, itching, swelling, or other unusual skin reactions around your nails, discontinue the products and seek appropriate medical advice.
The Secret to Professional-Looking Chrome
The most important lesson is that the chrome powder isn't doing all the work.
The quality of the final manicure depends on the layers underneath it.
Think of the process as building a mirror:
Clean nail → smooth base → even color → smooth chrome-compatible surface → finely buffed pigment → properly sealed finish.
If the surface underneath has ridges, dust, bubbles, or uneven gel, the chrome will make those imperfections much more visible.
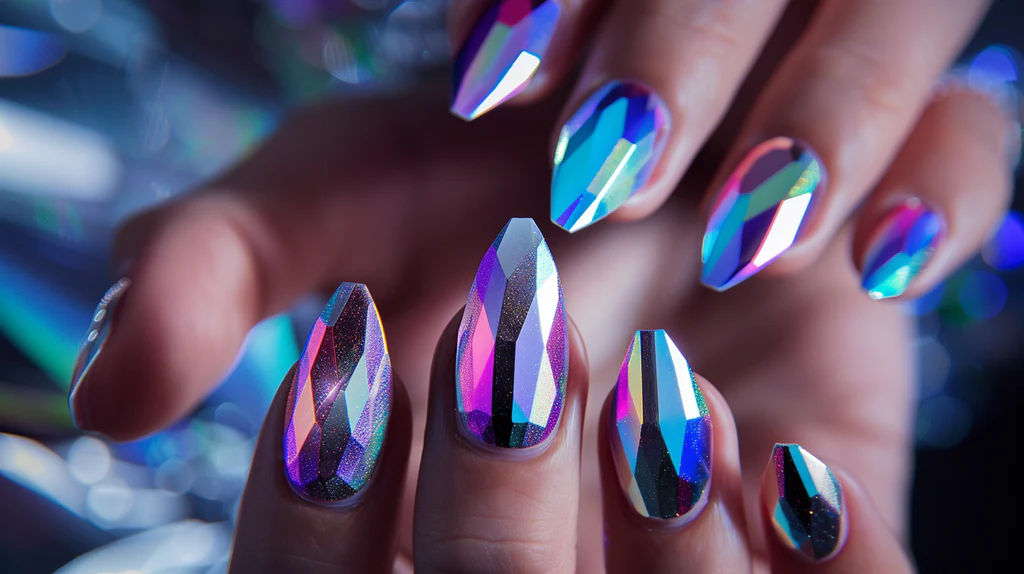
Once you master the basic technique, you can experiment with silver mirror chrome, gold chrome, glazed pearl nails, colorful aurora effects, chrome French tips, and detailed metallic nail art.
Related Products
Leave a comment